Home Built Tractor Implements: Building Your Own Sustainable Farming Tools
Tired of store-bought tractor implements that fall short? Ready to boost your farm's efficiency and lighten your environmental footprint? This guide will empower you to build your own custom tractor attachments! We’ll cover smart designs, easy-to-follow instructions, money-saving tips, and long-term maintenance strategies. Learn to create reliable tools perfectly tailored to your small farm's needs—saving you money, benefiting the planet, and expanding your skillset. But first, a crucial point: safety always comes first. We'll emphasize safe practices throughout this guide. For another DIY project, check out this guide on building a chicken tractor.
Planning Your First Home Built Tractor Implement: Dream Big, Start Small
Before you even consider firing up the welder, meticulous planning is essential. What farm chore needs improvement? Are you struggling with hay baling or seeking a more efficient tilling method? Realistically assess your tractor's capabilities—its horsepower and hydraulic system will determine feasibility. Begin with a simple sketch; it doesn't need to be perfect, just capture your initial ideas. Consider material sourcing early; used or recycled steel often offers significant cost savings.
Choosing the Right Materials: Steel is Your Friend (But Choose Wisely)
Steel is a popular choice for its durability. However, not all steel is equal. Thicker steel offers greater strength but adds weight. Balance strength with practicality. Consider the stress your implement will endure. Will it constantly strike rocks, or remain largely sheltered from the elements? The correct steel grade is crucial for long-term success.
Gathering Your Arsenal: Essential Tools and Equipment
You'll need fundamental metalworking tools. A welder is indispensable; consider taking a course or seeking hands-on training. An angle grinder is ideal for cutting and shaping metal. You'll also need a drill, a wrench set, and precise measuring tools. Invest in quality tools for longevity and safer operation. Never compromise on safety gear. Eye protection, sturdy gloves, and a proper welding mask are absolute necessities.
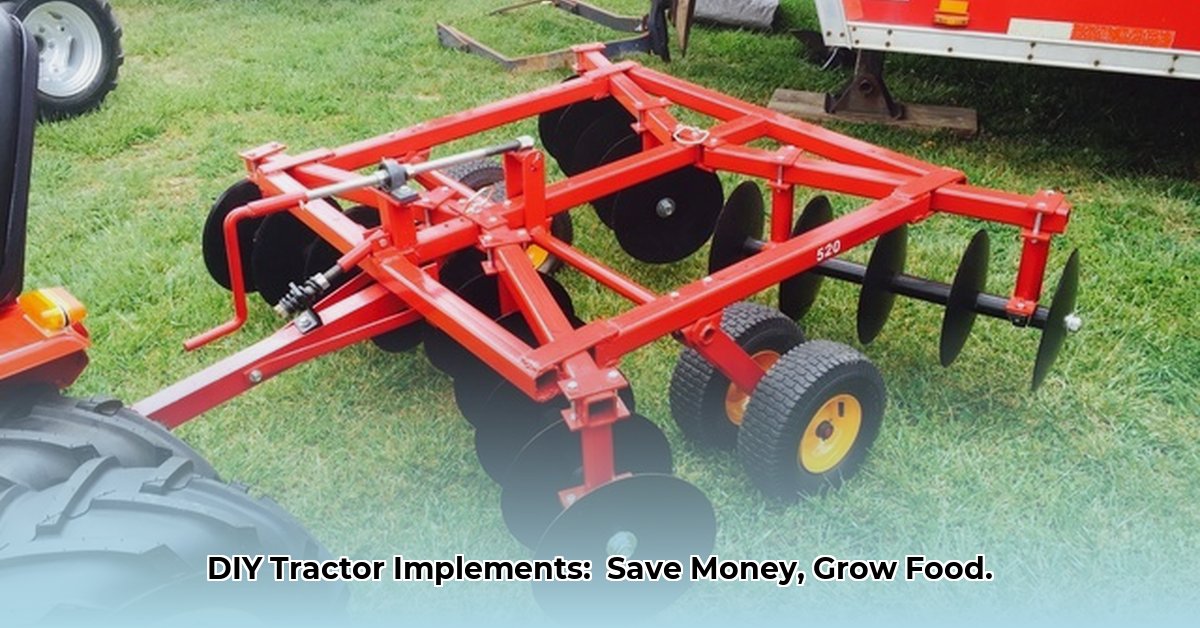
Step-by-Step: Building a Simple Box Scraper (A Beginner-Friendly Project)
This project serves as an accessible entry point. Specifics will vary.
- Design and Cutting: Based on your sketch, precisely cut steel plates to the required dimensions. An angle grinder with a cutting disc is effective. Measure twice, cut once—preventing future headaches!
- Welding: Carefully weld the plates together. Proper technique depends on the steel type. Practice on scrap metal until confident. Poor welds compromise the entire structure.
- Adding Strength: Reinforce areas prone to high stress by welding additional plates. This considerably increases durability. A small extra investment in time yields significant returns.
- Hitching Up: Design and fabricate a robust mount to connect the implement to your tractor's three-point hitch. This ensures safe and correct operation. A secure connection is vital.
- Testing and Tweaking: Test thoroughly before using on valuable crops. Adjustments are expected. Refine based on your testing results.
Keeping Your Implements in Top Shape: Maintenance Matters
Regular maintenance ensures efficient and safe operation. Lubricate moving parts, and periodically check and tighten bolts. Protect against the elements with paint. Neglecting maintenance leads to premature wear, potential injury, and wasted effort.
Home Built vs. Store-Bought: A Cost Comparison
Consider these key differences:
| Feature | Home Built Tractor Implements | Commercial Implement |
|---|---|---|
| Initial Cost | Significantly Lower | Significantly Higher |
| Customization | Highly Customizable | Limited Customization |
| Repair Costs | Lower for simple repairs | Higher for repairs; often specialized tools needed |
| Longevity | Dependent on material and maintenance | Typically Higher (with proper care) |
Safety First: Working Smart, Working Safe
Building your own implements is rewarding, but safety is paramount.
- Always wear appropriate safety gear.
- Regularly inspect implements for damage before each use.
- Never operate machinery when tired or distracted.
- Ensure all safety mechanisms function correctly.
- Understand your tractor's limitations.
Building Your Own Hydraulic Tractor Attachment: A DIY Guide for Sustainable Farming
Key Takeaways:
- Building your own tractor attachments is a cost-effective way to improve farm efficiency.
- Careful planning and safe practices are essential for success.
- A solid understanding of hydraulic systems and welding techniques is vital.
- Source materials responsibly, considering recycled options where possible.
- Compliance with all relevant local regulations is mandatory.
Designing Your Attachment
Planning is paramount. Define the problem you're solving. What task will this attachment perform? Will it be a simple bucket or a specialized seeder? The design must fit your tractor's three-point hitch system. Accurate measurements are critical. Improper design wastes time and materials. Simplicity often leads to efficiency.
Gathering Materials and Tools
This section is highly dependent on the chosen design. However, you'll generally need steel (consider recycled options!), hydraulic cylinders, hoses, fittings, and welding equipment. Don't forget crucial safety gear: a welding helmet, gloves, and appropriate eye protection. A comprehensive, design-specific materials list is necessary. Sourcing locally reduces your environmental impact and boosts your community.
Constructing the Hydraulic System
This involves understanding hydraulic principles. Carefully assemble hydraulic cylinders, hoses, and fittings, ensuring leak-free connections. Incorrect assembly can result in catastrophic failure. Consult reliable resources and diagrams. Test the system thoroughly before connecting it to the tractor.
Fabricating the Attachment Structure
This step requires welding the structural components. Welding is dangerous. If inexperienced, seek assistance from a qualified welder. Accurate measurements and careful welds are crucial for structural integrity. Precision and patience are required.
Integrating with the Tractor
Carefully install the complete attachment onto your tractor's three-point hitch. Refer to your tractor's manual for correct setup. Overloading can cause damage or injury. Test in a safe area at low speeds.
Testing and Refinement
Thorough testing ensures proper and safe function. Make adjustments as needed. Documenting the process, including any modifications, allows for easier replication and troubleshooting. This iterative process is vital for building an effective attachment.
Safety Considerations
Always prioritize safety. Wear appropriate PPE. Regularly inspect for wear and tear. Avoid operating beyond design limitations. Safety is paramount.